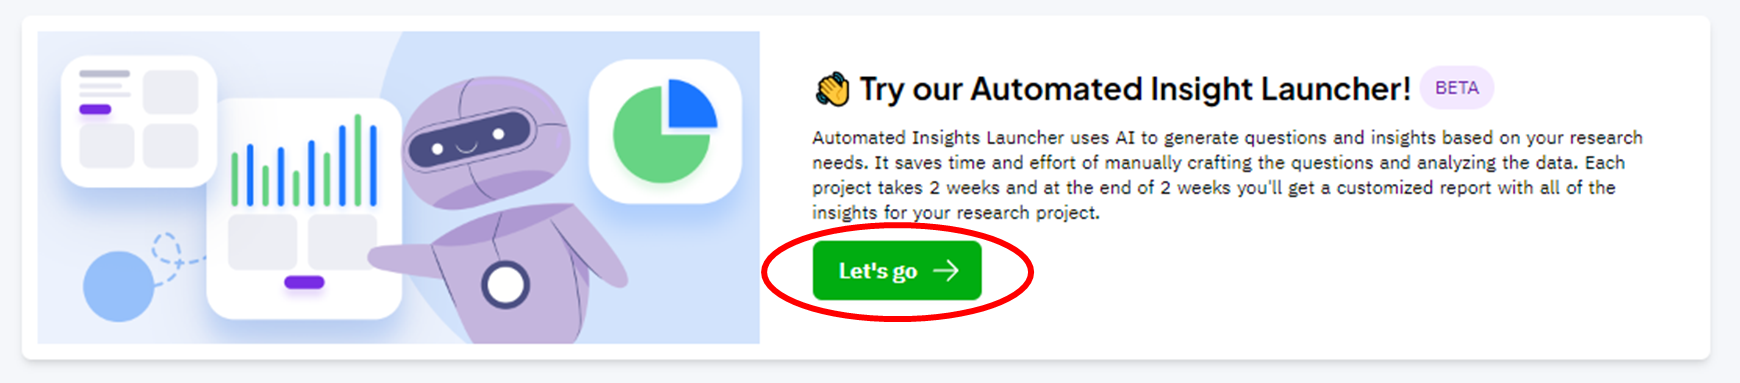
To get started, click on Let's go under the Automated Insight Launcher section.
Next, you'll need to fill in some details so that a questionnaire can be generated, and our research bot on the right of the screen will guide you through these steps:
- First, select the type of concept you will be testing and click "Confirm".

- Next, select the industry and product category you will be testing for.
- You will then be asked to create personas you'd like to test your concepts with.
These personas make up the audience who you'd like to answer your survey. We have created a default persona called "People of Malaysia", you may edit the persona if you would like to only target a specific audience for your survey rather than the whole of Malaysia.
Other than your target audience, you can also build additional personas that you're interested in knowing more about. Here are some examples of personas you can build:
- Male respondents from the Northern region
- Female respondents from the East Coast
- Respondents from East Malaysia
- Now it's time to upload your variants. The variants could be in the form of videos, images and/or descriptions, depending on the type of concepts you're testing.
- For logo or packaging, the variants will likely be in the form of images.
- For advertisements or advertisement messaging, the variants could either be in the form of videos, images (storyboard) or text only (where you can show the messaging itself without any visuals).
- For claims, product variant, product concept and product flavour, the variants could be in the form of text descriptions with or without images.
- Next, select the attributes you'd like to measure!
For example, if you are testing product concept, you would probably like to measure "Overall likeability", "Elements like", "Elements dislike" and "Purchase Intention", as shown below: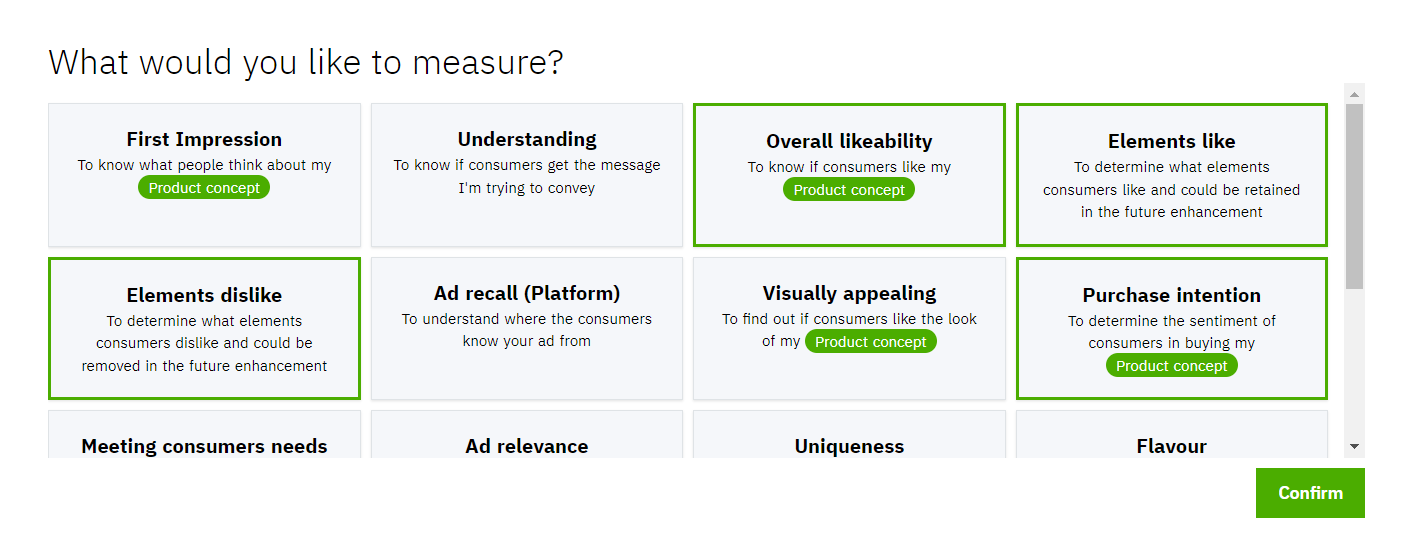
You would then need to insert the elements about the variants you would like to test in a follow-up prompt, as shown below:
Click on "Configure" to then insert the elements in the variants, e.g. color theme, art style etc.] - Finally, insert a Project Name, and insert your research objectives in as much detail as possible. Knowing your research objectives will help us to determine if you'll be getting all the data you need from using the Automated Insight Launcher, or if you'd perhaps need a follow-up survey asking additional questions!
- Give all your inserted data a final check to ensure you've inserted all the necessary information correctly, and once you're done, click "Submit for Review". Keep in mind that clicking on "Submit for Review" sends your survey to us for a review before it gets sent to respondents.
In the current beta version of Automated Insight Launcher, you are unable to view the data in real-time, unlike our usual surveys. You will instead be receiving updates via email when your survey is launched, after the completion of data collection and when report preparation begins, and when your report is done and available for you to download.
At the moment, the team takes 5 working days for the data collection and 10 working days for the report preparation. You would be able to download the report 15 working days after the survey is live.
If you have any questions, feel free to reach out to us via the chat box below, and we'd be happy to help!